
Roof restoration, step by step
From scan to finished roof
The order matters: find out what, if anything, is wet, replace only that, then build the coating system over the roof you already have, with no tear-off and the building open. It starts with a drone moisture scan, and nothing has to be decided until you have seen the map. Below, each step and who does it: you, the installer, Sherwin-Williams and us.
Part one: survey and repair
Before the field is coated
Applied over a sound, dry roof, a restoration system adds 10 to 15 years of service life. These six steps make sure the roof is sound and dry, and they settle restore or replace before anyone budgets for a coating.
-
The moisture scan
With your written go-ahead, we arrange a flight on an evening after a sunny day. Wet insulation holds the day's heat longer and shows warmer to a drone's thermal camera. You get a map with any area that looks wet outlined and measured in square feet, video from the flight and a written assessment.
-
An installer cores the flagged areas
No contractor yet? We introduce one from our network anywhere in the US, who looks at the roof, says whether it is a good candidate and cuts small cores at the flagged areas, patching each one. The scan marks suspects; the cores confirm them. If so much is wet that replacing wins, you learn it here.
-
The adhesion test patch
The installer puts the actual system down on a small area with a strip of fabric embedded, lets it cure and pulls it. For Silicone44 that is three days, and Uniflex looks for at least 2 lb per inch; a lower result goes to Uniflex, which names the primer. Nothing else settles whether it holds.
-
The scope and the material count
Once you decide to restore, the installer writes the scope: the system per roof area, the field and any wet area coming out, in square feet, linear feet of seams, the curbs, drains and penetrations, and any system warranty. We count the material off it and reply within one business day.
-
Materials ordered and shipped
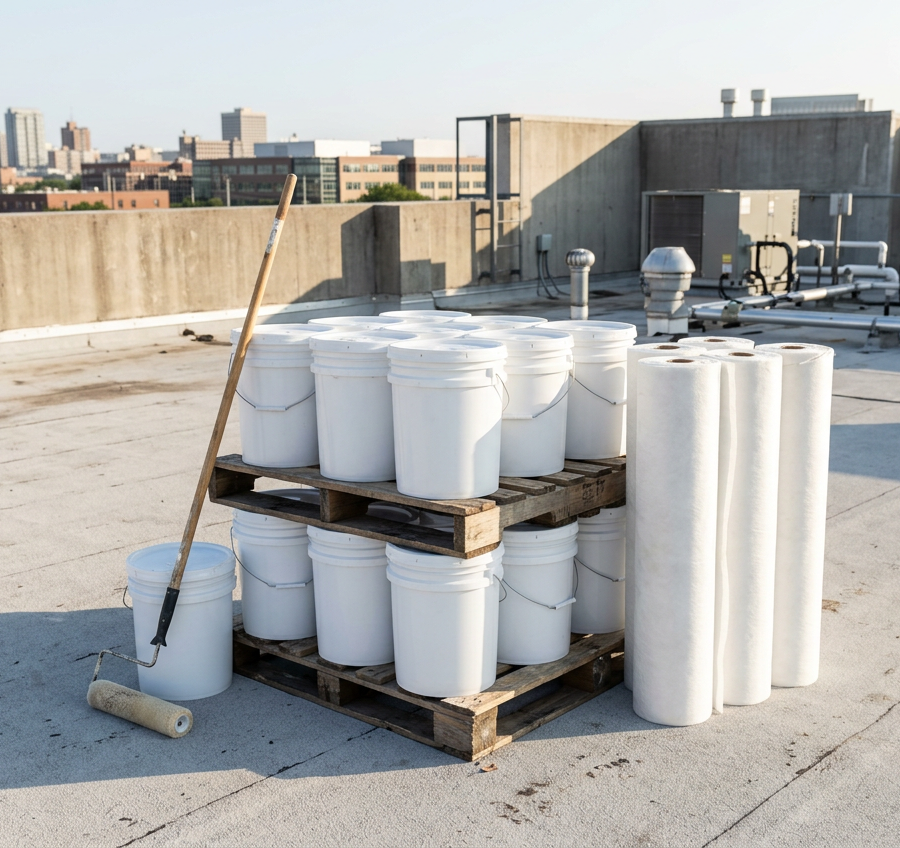
Genuine Sherwin-Williams Uniflex in the maker's sealed packaging, counted off the scope. Stocked items ship in 1–3 business days: pails by parcel or pallet, drums and totes by freight, with a lift-gate where there is no dock.
-
Replace what the cores confirm wet
Each confirmed wet area is cut back to sound material, the insulation replaced to matching thickness and the patch tied back into the field. Coating makers, Sherwin-Williams included, require wet insulation to be found and replaced before a coating goes on: over it, a coating seals the water in.
What step one hands you
A suspect on the map, before anything is cut
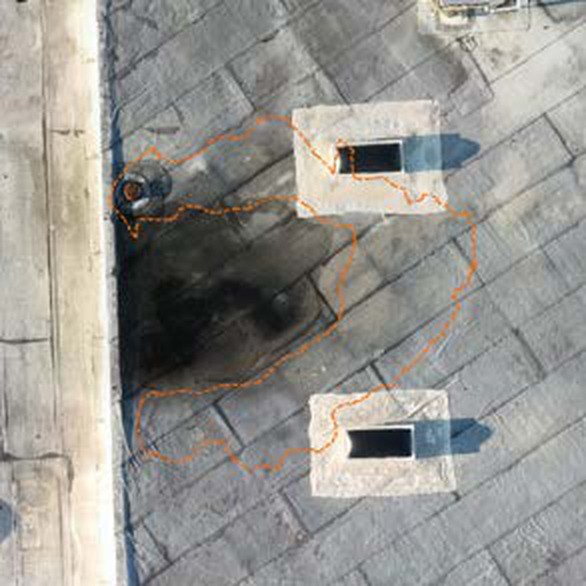
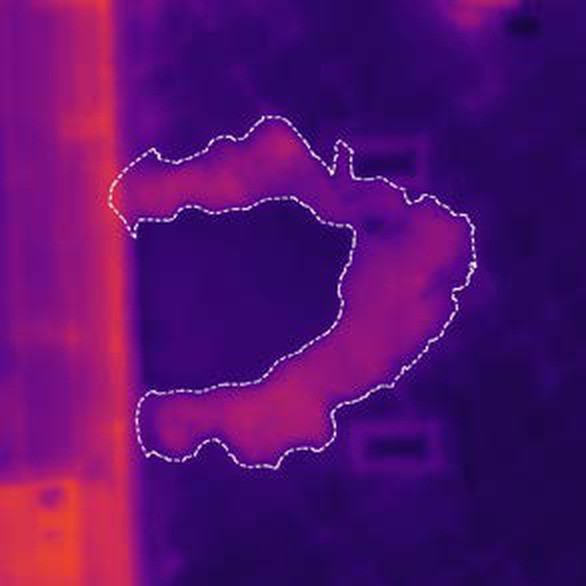
A sample from a real scan, with the address, the people and the companies removed and the map re-oriented. Wipe between the daylight photograph and the thermal image of the same patch of roof.
-
A flagged area between two curbs
 Daylight
 Thermal
- Area flagged
- 176.2 sq ft
- Warmer than around it
- +8.5 °F
The ring of roof around a ponding stain reads warmer; the stain itself does not. Nothing in the sample was cored, so this is a suspect until a core confirms it: that is step two.
The sample shows the map and the image pairs; a full scan also comes with video from the flight and a written assessment. On ballasted or heavy-gravel, metal panel, white-coated or closed-cell foam roofs the camera is the wrong tool, and the survey is done another way.
Part two: on the roof
The system, built from the roof up
The order is the same on every roof type; what changes is the primer, the detail materials, the chemistry and whether a base coat goes on. The data sheet names the preparation, the rate and the cure for each coat, and a written specification wins over this list. The installer's crew does every step.
-
Clean
The roof is washed and left to dry: dirt, oils, ponded silt and loose granules come off, and rust on metal is treated. The coating bonds to whatever is left.
-
Repair, then prime by substrate
Splits, blisters and loose fasteners are repaired. Then the primer: rust-inhibitive on corroded steel, the wash primer on EPDM only, the concrete primer under an acrylic. Under silicone, weathered TPO and PVC, foam and concrete take none; newer asphalt takes a bleed-blocking primer we do not stock.
-
Detail every seam, fastener and flashing
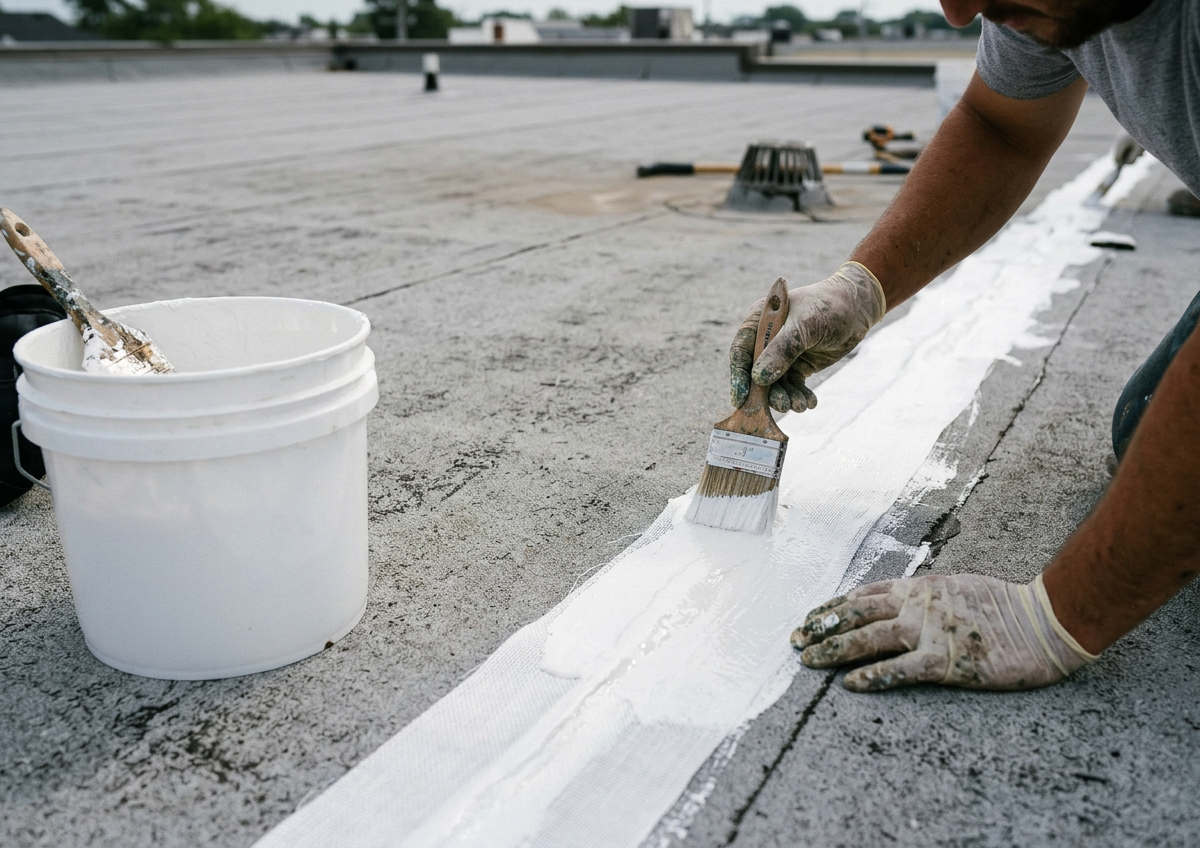
Seams, fasteners, curbs, pitch pans, drains, flashings and pipes get fabric set in coating, seam tape or sealant before the field is coated. Under silicone, Uniflex specifies its OneFlash sealant at curbs and penetrations, which we do not stock. Restored roofs are won or lost here.
-
Base coat, under an acrylic finish
Over the whole field and every detailed area, in the chemistry the substrate calls for; the single-ply and modified bitumen bases must be topcoated with an acrylic finish. Silicone44 takes no base coat: it goes onto the prepared, primed roof.
-
Finish coat
The surface the weather sees: acrylic where the roof drains; where water stands after rain, Silicone44 KST044300 (white) or KST044320 (gray), or on metal, foam and asphaltic roofs the solvent-based pair KST042200 and KST042100. Silicone resists standing water; it does not fix drainage.
-
Final inspection
Walk the finished roof with the installer, scope in hand. Where a system warranty is wanted, Sherwin-Williams inspects the finished roof before it issues one.
The build-up, with part numbers
The same order, three different roofs
Read each column from the bottom up, in the order the work goes on. The roof the building already has stays, less what the cores confirm wet; everything above it is what the restoration adds. These are the acrylic build-ups: the substrate decides the primer, the detail material and the base coat, and on modified bitumen the base coat is the first coat. Where water stands after rain, Silicone44 goes on instead, with no base coat under it. The adhesion test patch settles whether the stack holds on this roof.
Metal
- Finish coat KST041300
- Base coat KST041320
- Seam tape KST020804
- Primer KST034520
- Existing metal panels
EPDM
- Finish coat KST041300
- Base coat KST041321
- Bonding tape KST058006
- Wash primer KST038620
- Existing EPDM membrane
Mod bit, smooth BUR
- Finish coat KST041300
- MB base coat KST041510
- Fabric KST20385B in coating
- Existing asphaltic roof
Roles and decisions
Who does what, from scan to warranty
We arrange the scan, supply the materials and introduce an installer anywhere in the US; we never do the roofing work ourselves. Structural, permit and tax questions belong to the people named here, and nothing on this page is advice on any of them.
| You, the building owner | The go-ahead for the scan, in writing; access to the roof and the building; and the decision to restore, replace or wait, made after you have seen the map and the cores. |
|---|---|
| CoatYard | Arranges the scan, introduces an installer from our network anywhere in the US, and quotes and supplies the materials to the owner or contractor. Never applies coatings or issues a system warranty. |
| The installer, a roofing contractor | Says whether the roof is a good candidate; cuts the cores, runs the test patch, writes the scope, replaces wet sections and applies the system, naming in the scope who applies for any permit. |
| The manufacturer, Sherwin-Williams | For a system warranty: requires a moisture survey, by a third party for a 15-year warranty; inspects the finished roof; issues the warranty through its authorized contractors, under its own terms. |
| The building's engineer | Anything structural: what the deck can carry, why the roof deflects or holds water, and what may be added to it. |
| The local building department | Whether the work needs a permit, and whether another layer is allowed on the building at that address. |
| Your accountant | How the work is treated on the books. Many owners treat restoration as maintenance for tax purposes — worth a word with your CPA. |
While the work goes on
What the building notices
For the people inside, the work happens overhead and the roof over them stays on; only sections the cores confirm wet are opened. Not tearing off is also why it costs less: restoring typically runs $3.50 to $7 per sq ft installed, and tearing off and replacing typically runs $10 to $18. Those are typical installed ranges from published industry figures, not a quote; the roof's condition, the wet area, access and region move them.
- No tear-off: the existing roof stays on and carries the new surface
- The building stays open and in use while the crew works overhead
- Crews work in sections, planned around the parts of the building in use
- No hot kettle and no open flame on the roof
- Weather sets the dates: coating goes on a clean, dry roof, with time to set before rain or dew
Questions
What owners ask before the work starts
How long does a roof restoration take?
Can the work be done in sections?
What weather stops the work?
What happens if the cores find more water than the scan suggested?
Do I need a permit to coat the roof?
Will the building stay dry while the work goes on?
Can our own roofing contractor do the work, and is there still a warranty?
Guides
Each step, in more depth
The test patch, the details, the weather window, and how a moisture map becomes a scope and a material count.
- The roof coating adhesion test patch: make it, pull it, read it
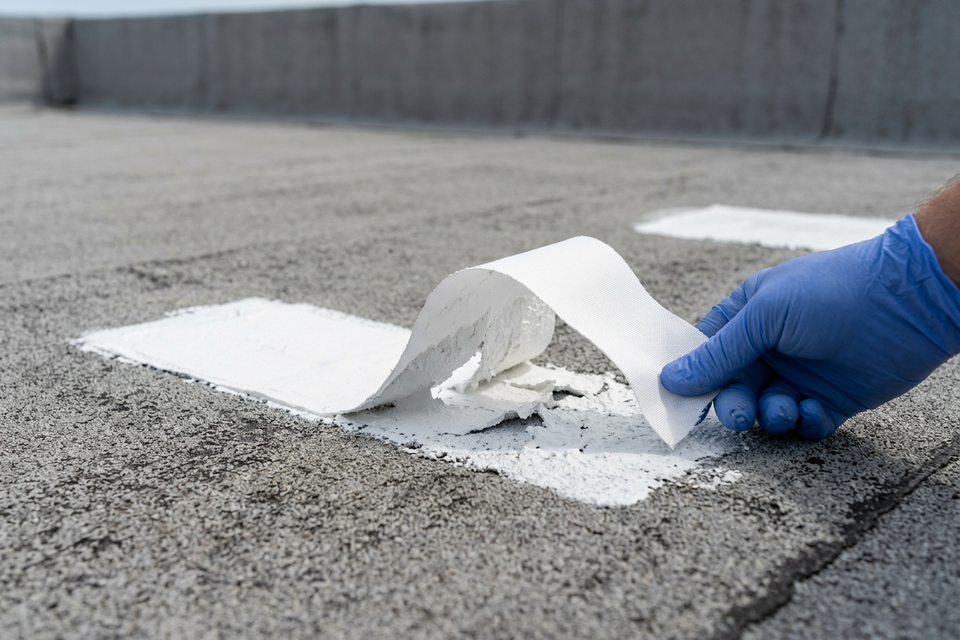
Only a test patch shows whether a coating will hold on a particular roof: where to put each one, how to make it, how to pull and read it, and what to record.
- Seams, fasteners and flashings: where restoration is won or lost
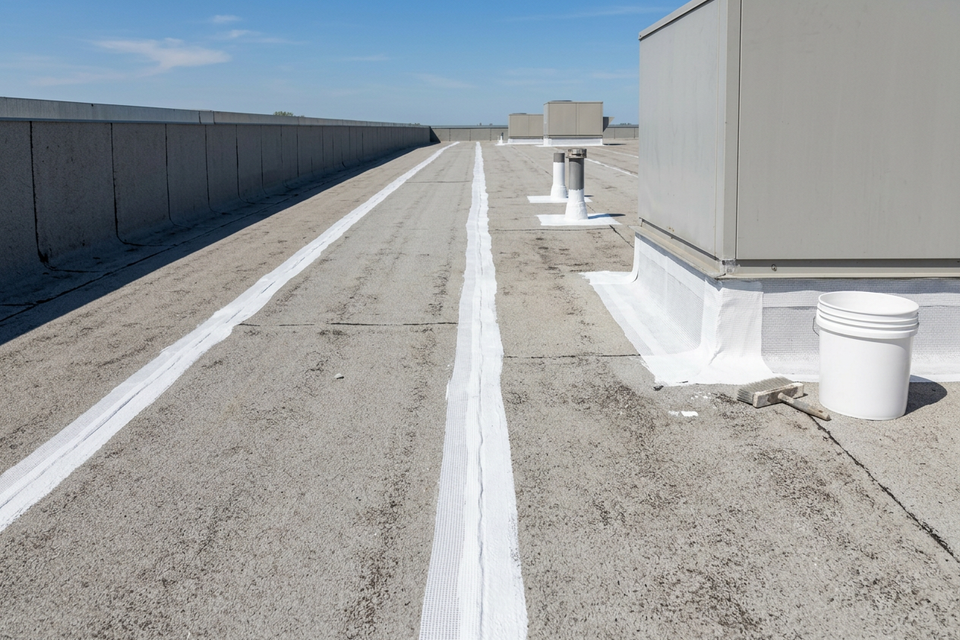
Reinforce every seam, fastener row and flashing before the field coats: butyl tape on metal, bonding tape on single-ply, fabric on asphaltic roofs.
- When to coat a flat roof: the day, the season and the budget year
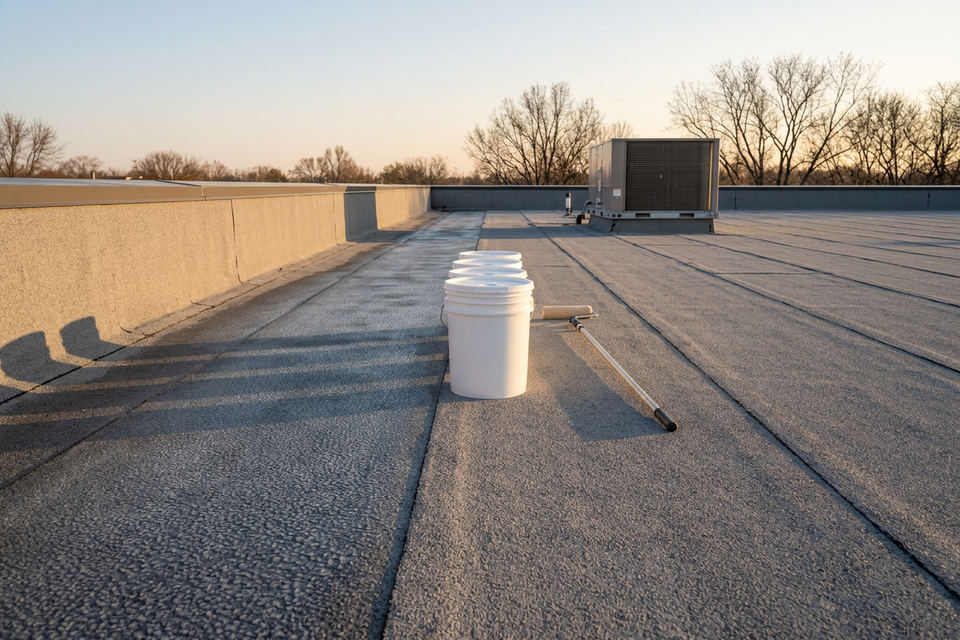
The local dry season, December to April in Florida, is the easiest time to coat a flat roof. The data sheet picks the day; the scan and budget come first.
- From moisture map to restoration scope and material count
For roofing contractors: core the flagged areas, mark the cut-outs on the roof plan, then count primer, details and coats off the same plan.
Start with the moisture scan
Send the building's address and we will quote the scan; the price depends on the roof's size and where it is. We arrange scans anywhere in the US, and nothing has to be decided until you have seen the map. Contractors: request a quote for the materials, or ask to join our installer network.