Why roof coatings blister, peel and fail, and how to prevent it
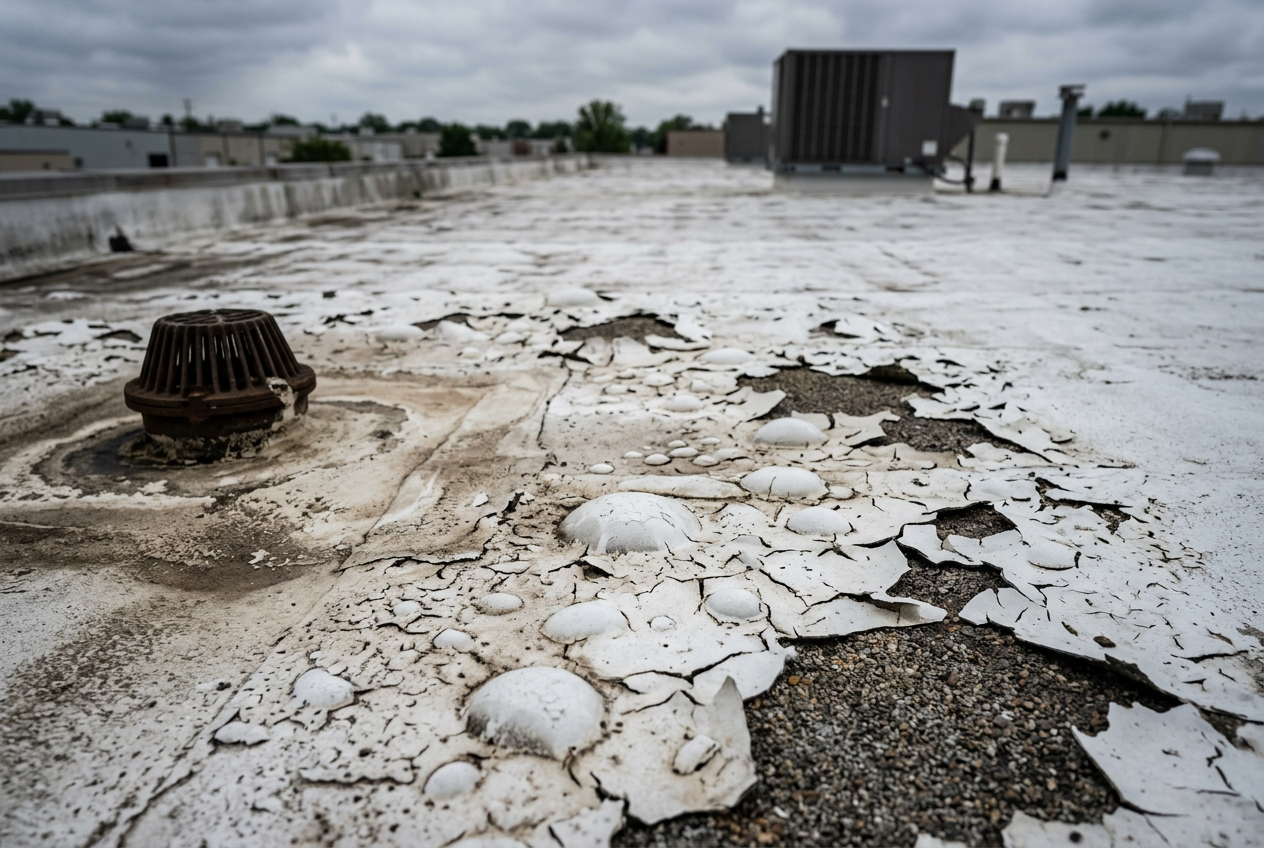
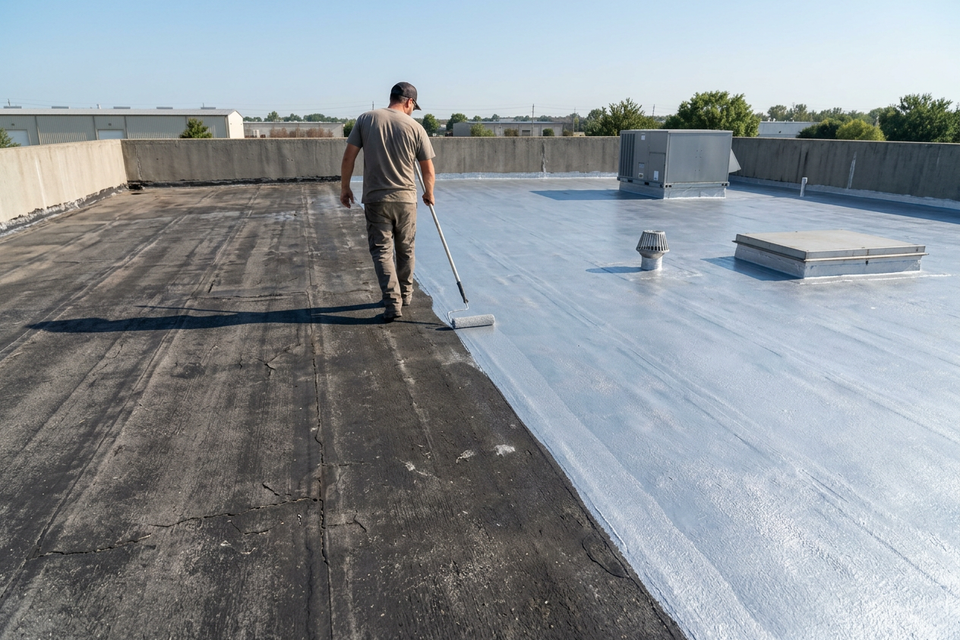
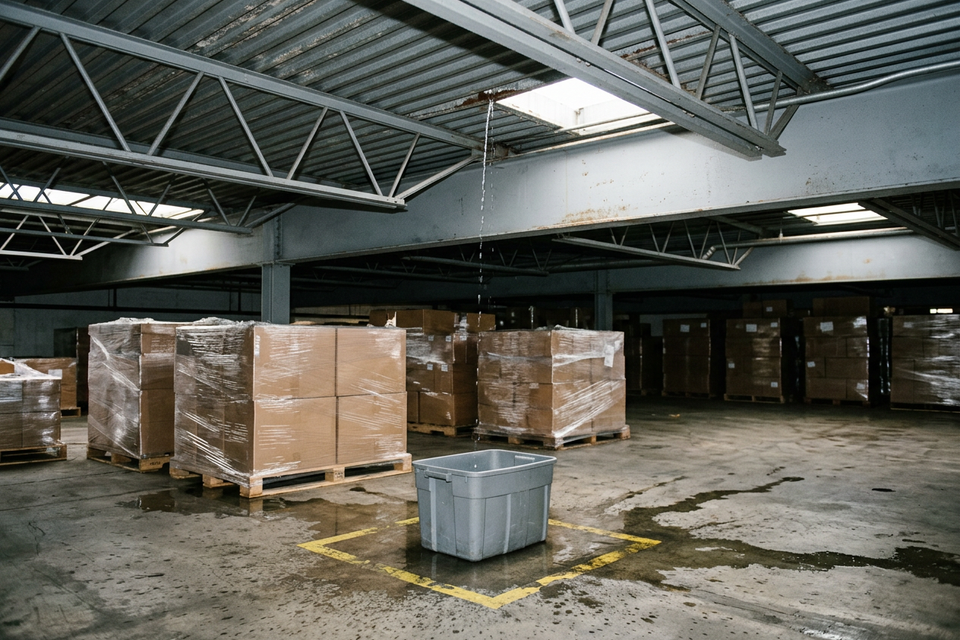
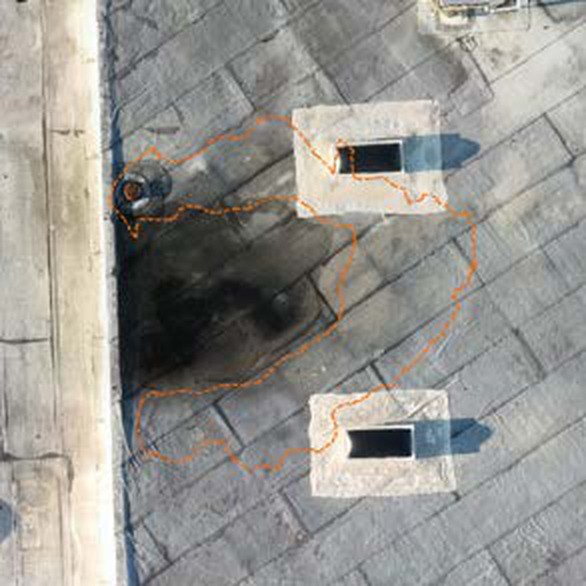
When a roof coating blisters, the cause the trade names first is moisture trapped under the film. It gets there when wet insulation is coated over, when the surface is still damp with rain, dew or wash water, or when old blisters in the membrane were never cut open and repaired. A coating keeps new water out and does nothing for water already under it.
Blistering is one of eight ways a coating job fails; the table below names all eight with what prevents each, and most of the prevention happens before a pail is opened.
Eight causes, and what prevents each
Applied over a sound, dry roof, a restoration system adds 10 to 15 years of service life. Each failure below breaks one of those conditions: the roof was not sound, it was not dry, or the system was not applied as its data sheet says.
| Cause | What goes wrong | What prevents it |
|---|---|---|
| Moisture sealed in | Blisters; the film lets go | Moisture survey, cores, wet areas cut out |
| Poor adhesion | The coating peels off the roof | Cleaning, the right primer, a test patch |
| Wrong chemistry over an old coating | The new coat lifts off the old | Knowing what is there; a test patch |
| Film too thin | The film weathers away early | The data-sheet rate, checked wet |
| Ponding under acrylic | Peeling where water stands | Better drainage; silicone or solvent-based there |
| Details skipped | Leaks at seams, fasteners and flashings | Every detail reinforced first |
| Weather at application | A coat damaged before it cures | Staying inside the data sheet’s window |
| No maintenance | Small damage becomes a leak | Inspections, clear drains, prompt repairs |
Moisture sealed in
ASTM D7954, the standard practice for impedance-scanner moisture surveys, says in its public abstract that excess trapped moisture can lead to premature failure of the roof system. Coating makers, Sherwin-Williams included, require wet insulation to be found and replaced before a coating goes on. The steps, in order:
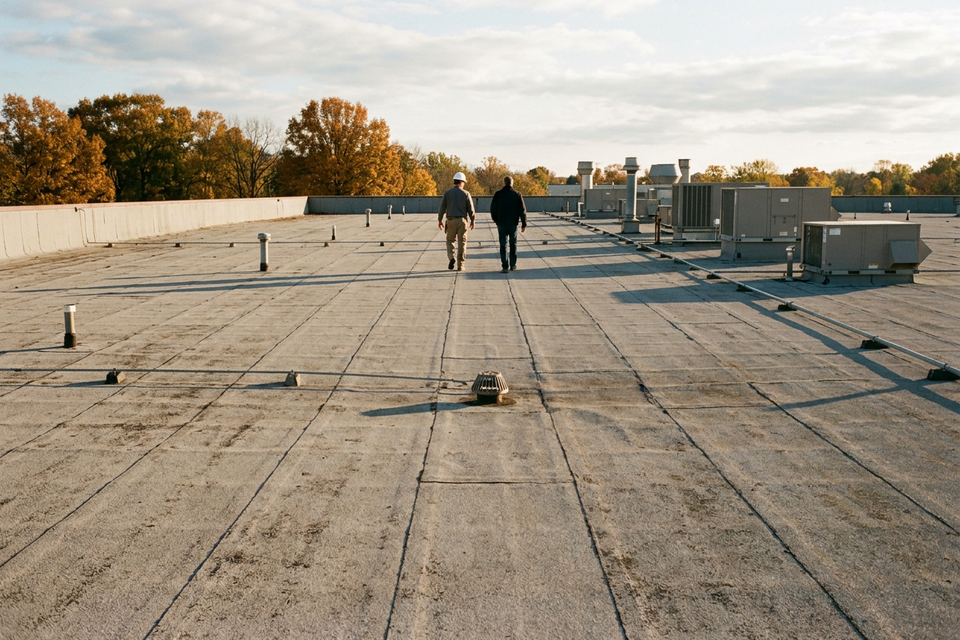
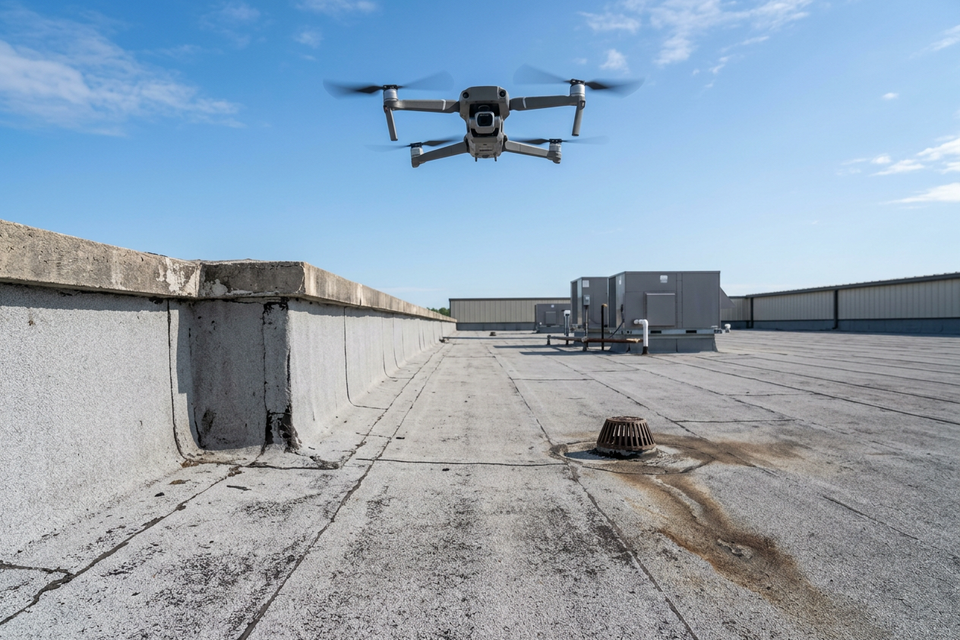
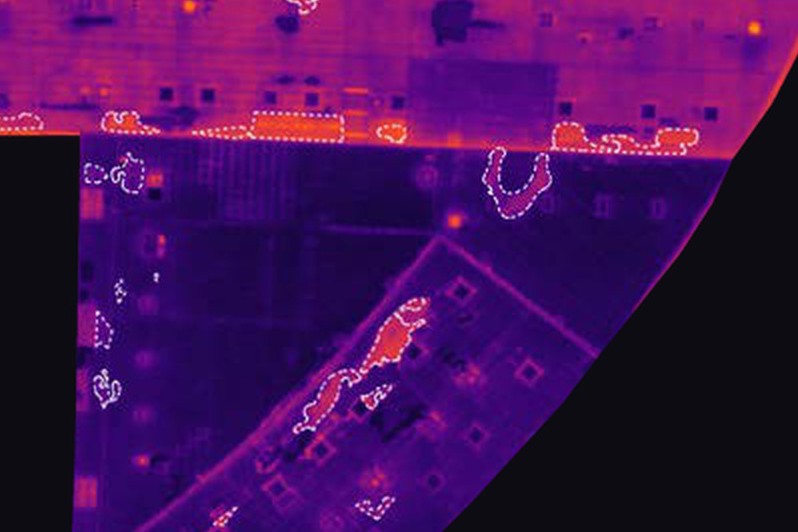
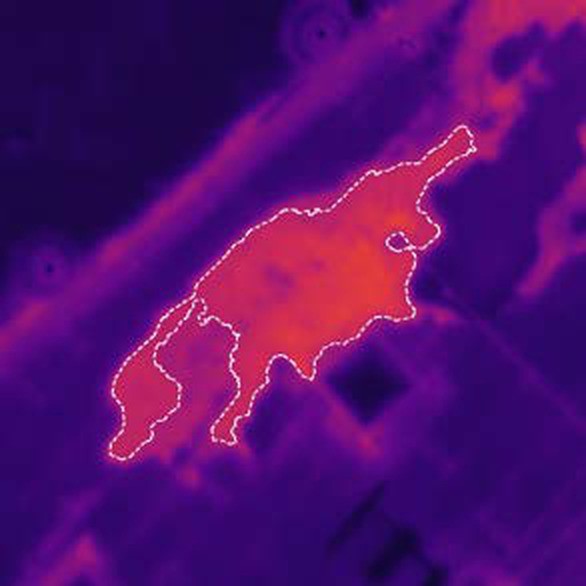
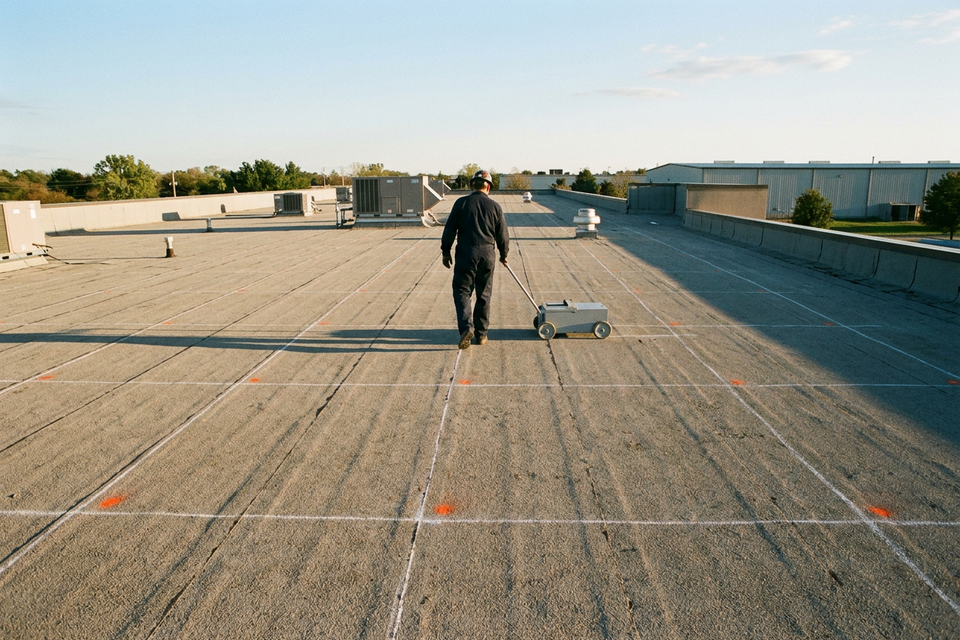
- Survey the whole roof. With our drone moisture scan, a drone with a thermal camera flies the roof on an evening after a sunny day, once the sun has set; wet insulation holds the day’s heat longer than dry insulation and shows up warmer, and you get a map with any areas that look wet outlined and measured in square feet, along with video from the flight and a written assessment of what the scan found.
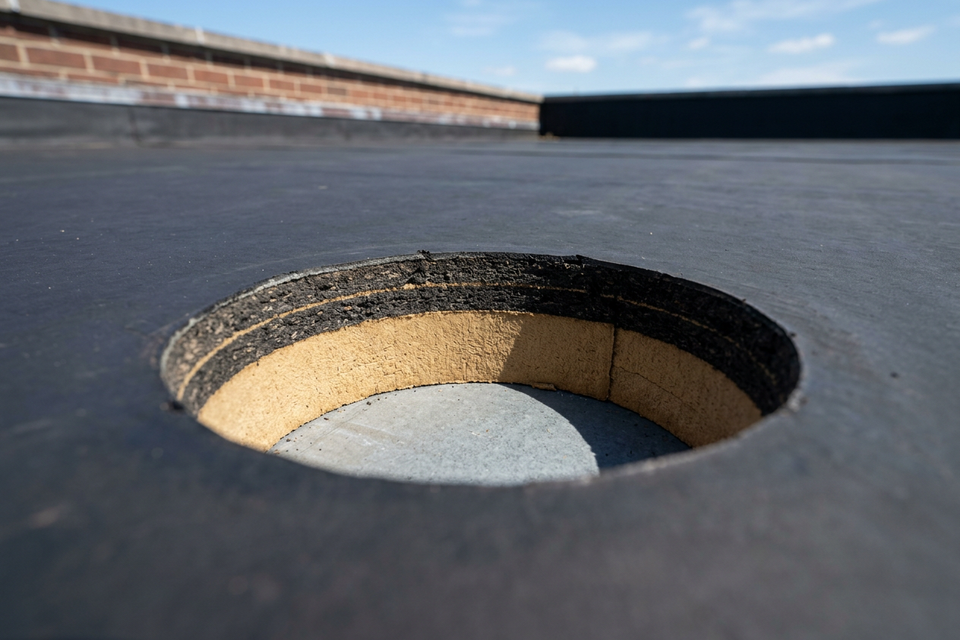
- Core what the map flags. A thermal camera reads temperature, not water. The scan marks suspects; the cores confirm them.
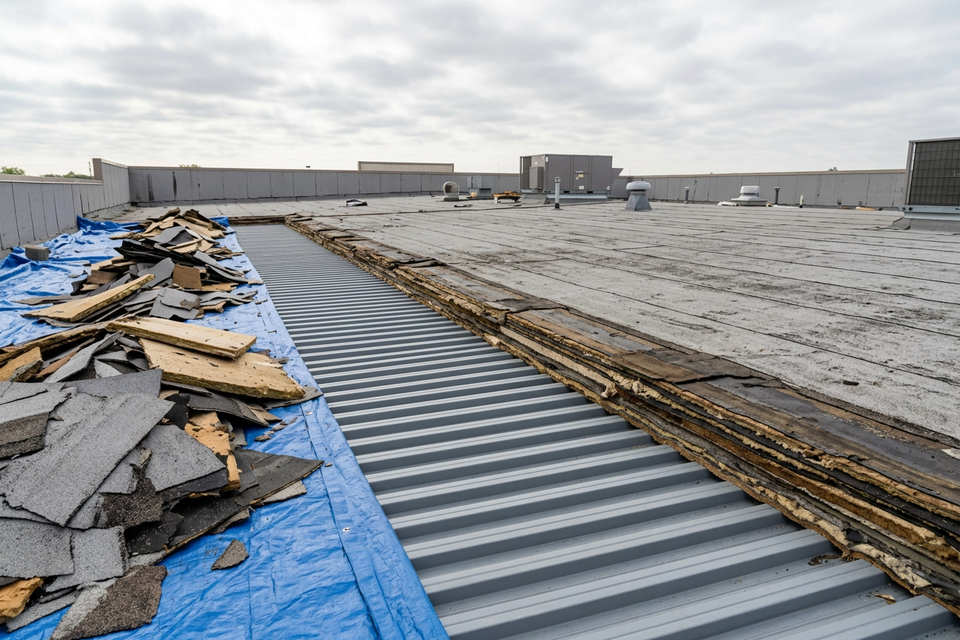
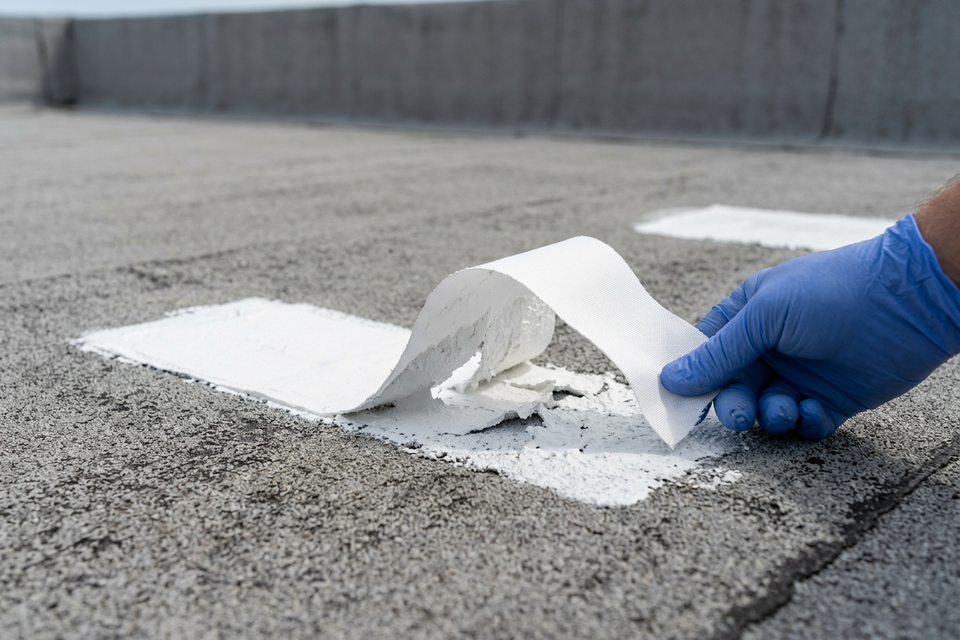
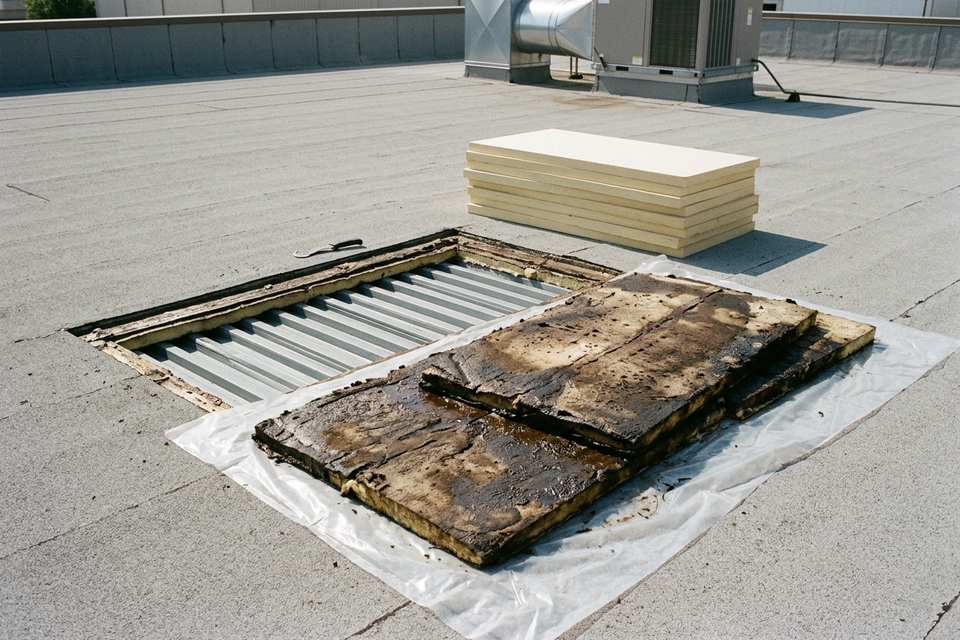
- Cut out what is wet. A roof with wet insulation is not a candidate until that is cut out and replaced: wet insulation and the membrane over it come out back to dry, sound material.
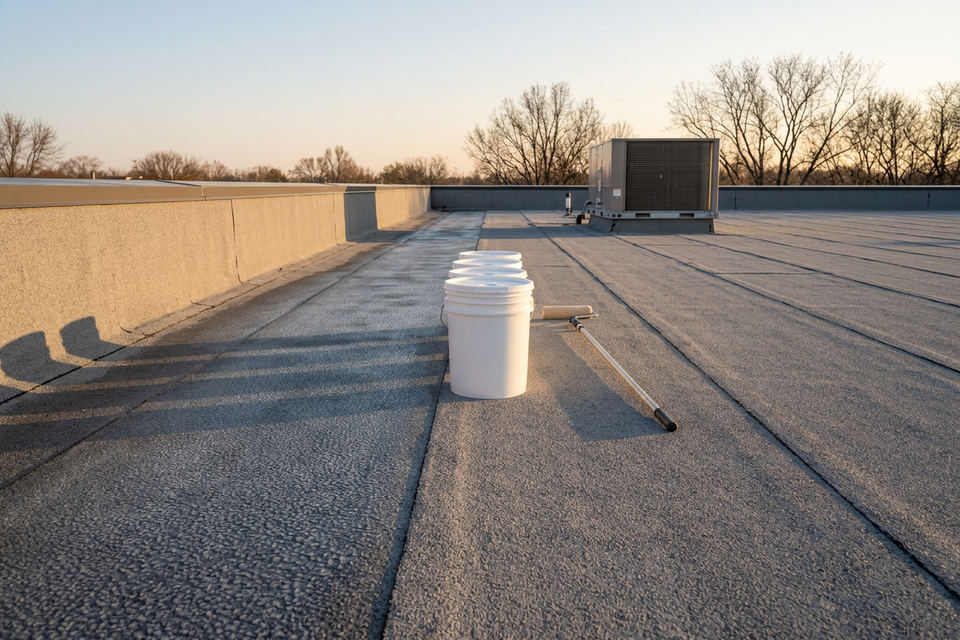
- Repair old blisters, then coat a dry surface. Acrylic patching cement KST041220 is listed for blisters in built-up, modified bitumen, foam and concrete. After the wash, the roof dries as the data sheet requires.
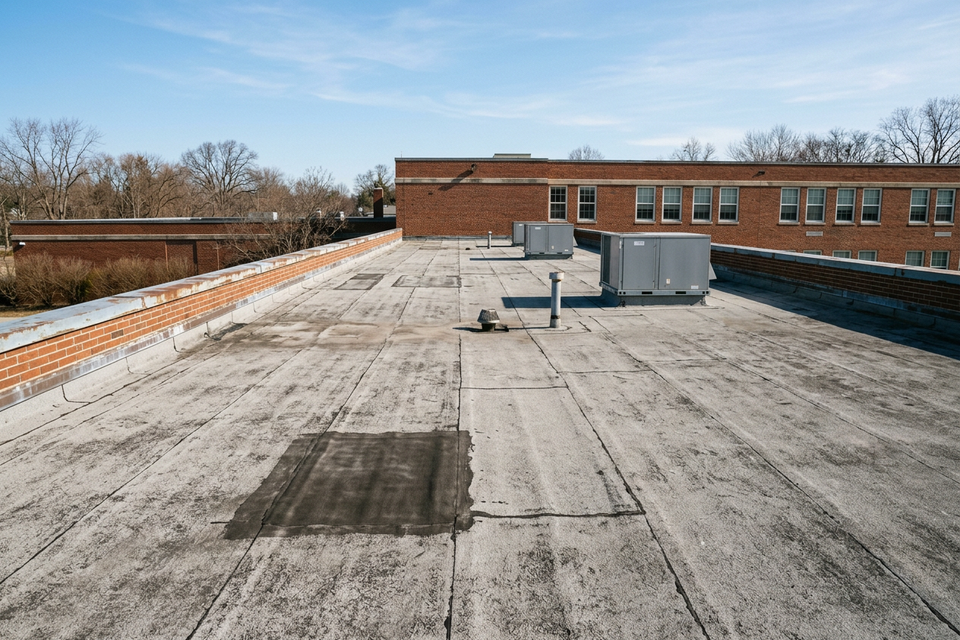
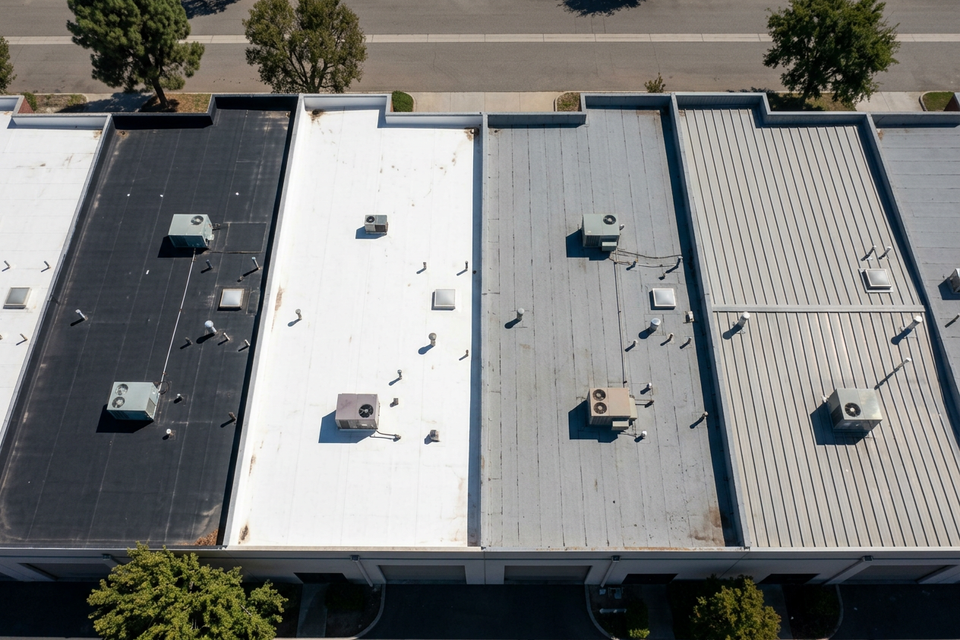
A thermal scan is the wrong tool for roofs under ballast or pavers, metal panel roofs, highly reflective or already-white-coated surfaces, and insulation that does not hold water, and a poor fit for gravel-surfaced built-up roofs; there the survey is usually done another way. A white coating makes later thermal work harder: one more reason to survey before coating. Where a coating has already blistered, a core through the blister shows whether the insulation under it is wet.
Poor adhesion
A coating bonds to whatever it touches first. If that is dirt, chalk, oil, silt or loose granules, it is bonded to something that is not attached to the roof.
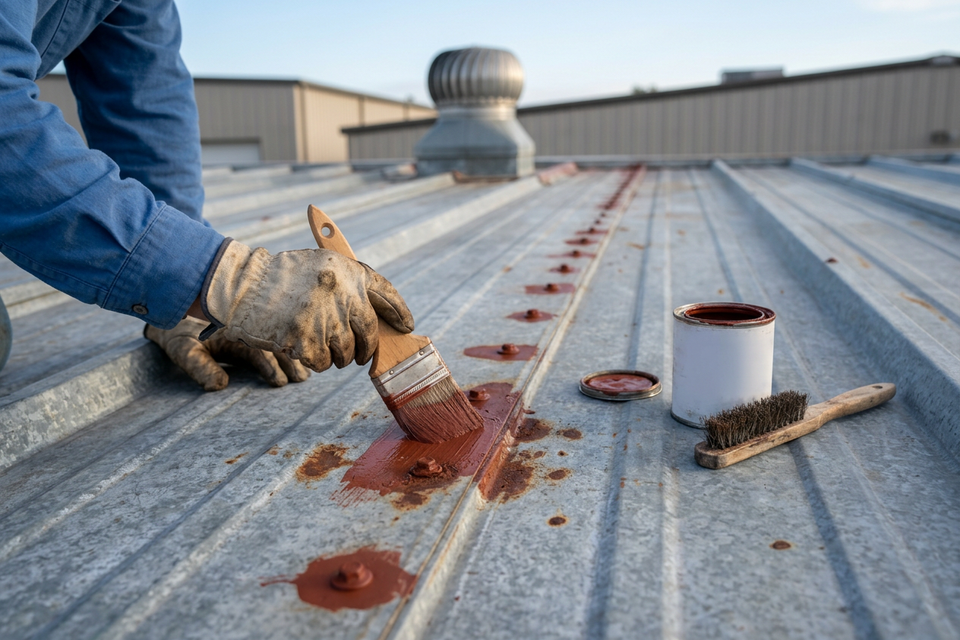
Clean, then let it dry. Pressure wash the field, get silt and loose granules off, and treat rust.
Prime for the substrate. The primer changes roof to roof, and with the finish. Under an acrylic system: rust-inhibitive primer KST034520 on corroded steel, wash primer KST038620 on EPDM only, acrylic concrete primer KST036500 on concrete, and on asphaltic roofs the MB base coat KST041510 as the first coat. Under Silicone44 there is no base coat at all, and weathered TPO and PVC, foam and concrete take no primer. Primers by substrate has the full list.
Pull a test patch. Put the actual system down on a small area, let it cure as the data sheet requires, then pull it. Under Silicone44, Uniflex requires the test on every job and looks for at least 2 lb per inch; a lower result goes to Uniflex, which decides the primer. Its guide specifications call for every substrate to be peel-tested. The adhesion test patch explains how.
Know the old coating. An existing coating is a substrate too. Contractors commonly treat cured silicone as a surface that accepts little except more silicone; it is a rule of thumb, not an absolute, and the test patch decides. The other direction is easier: Silicone44 KST044300 (white) goes directly over a sound, aged acrylic, silicone or urethane coating after washing, scraping loose coating back and passing adhesion tests.
Film too thin
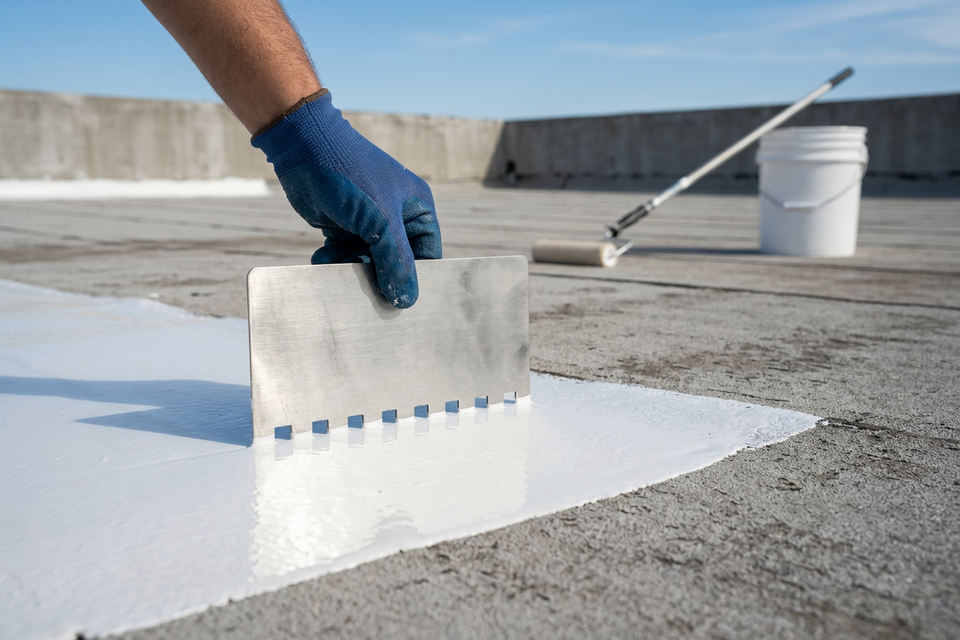
What protects the roof is the dry film, and it is thinner than what went down wet. One gallon over one square (100 sq ft) is about 16 wet mils; what stays is that figure times the coating’s volume solids, which is arithmetic, not a rate. A water-based acrylic also chalks and loses thickness as it weathers, so a thin film has less to give up.
- Use the data-sheet rate. Gallons per square per coat belongs to one product on one substrate.
- Allow for the surface. A granular cap sheet, sprayed foam and ribbed metal take more coating than their plan area suggests.
- Check it wet. A wet-mil gauge in the fresh coat shows the thickness while it can still be corrected.
Wet mils, dry mils and coverage has the math.
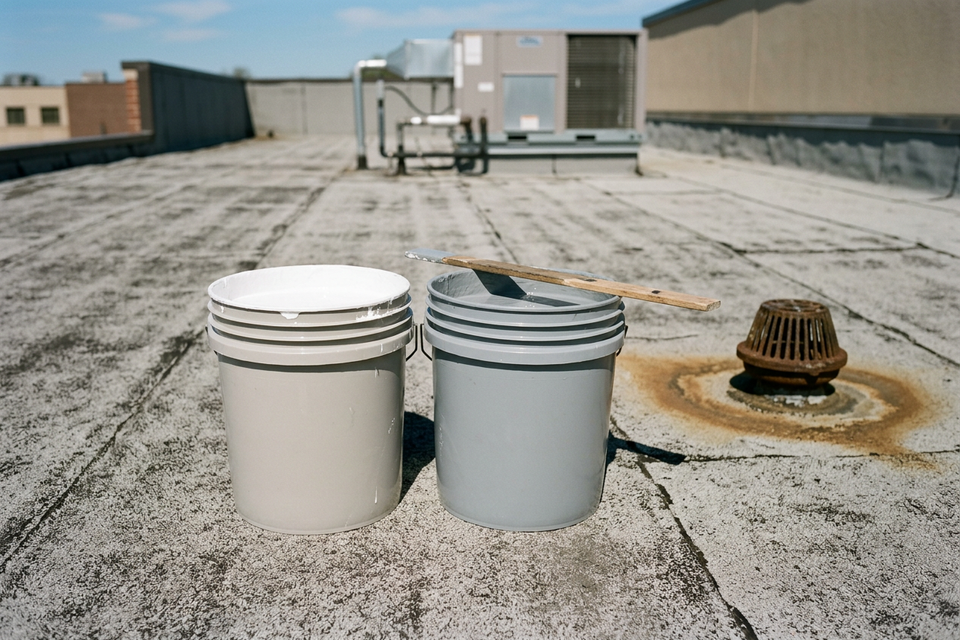
Ponding water under a water-based acrylic
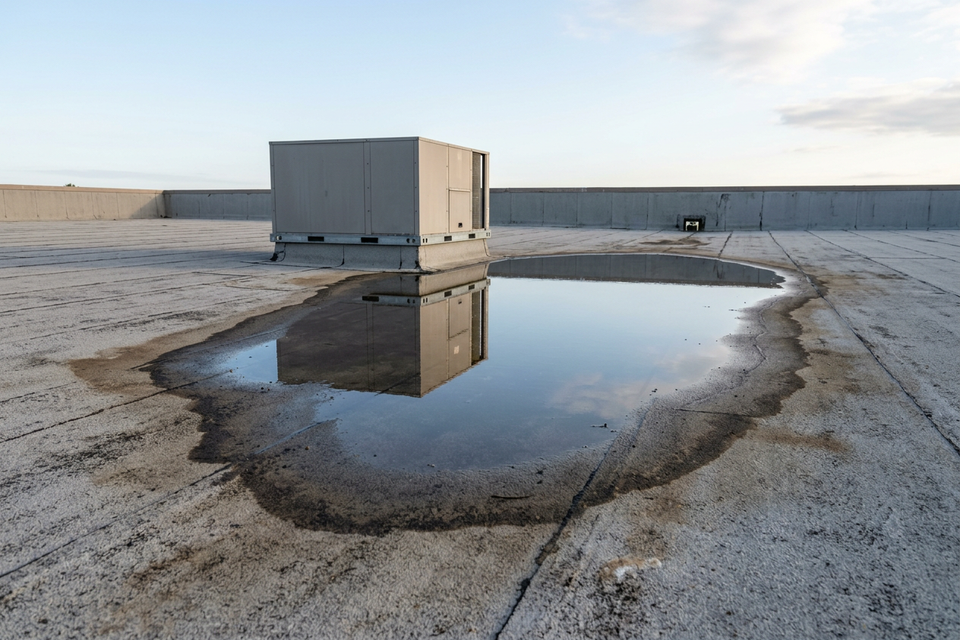
Under prolonged ponding a water-based acrylic can lose adhesion and peel.
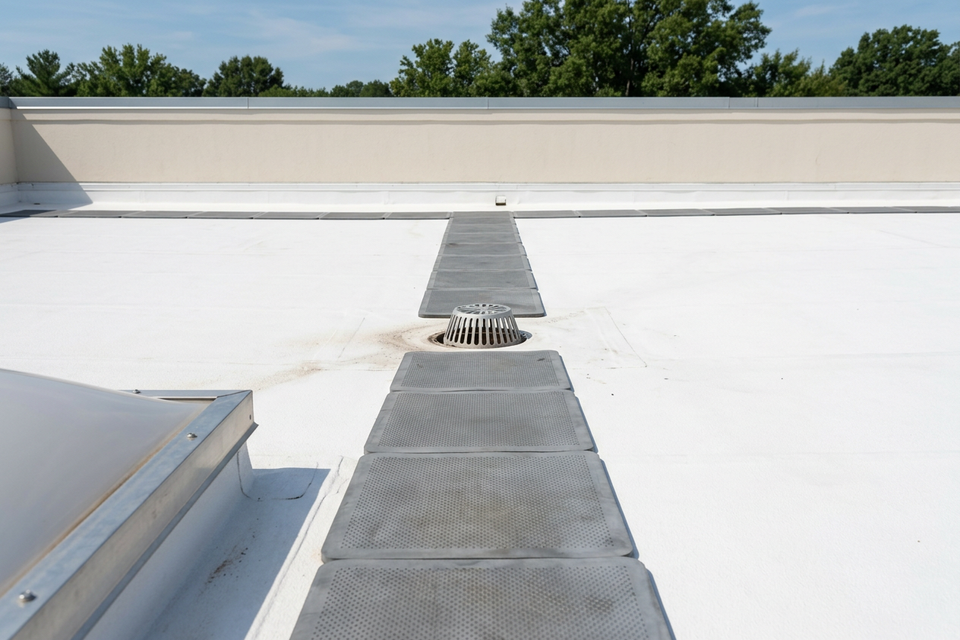
Fix the drainage that can be fixed. Clear the drains and scuppers, and build up low areas at drains, in valleys and along parapets; under an acrylic system, Slope Builder KST0SLPBD is in the line for that. Water that stands because the structure deflects is a question for the building’s engineer.
Choose the chemistry for what still holds water. There the finish is Silicone44 KST044300 (white), or the solvent-based base coat KST042200 under finish coat KST042100 on the substrates its data sheet lists. Silicone does not fix drainage: Uniflex’s silicone specifications still expect at least 1/4 in per ft of slope and working drains, and the silicone data sheet says to remove ponding, because standing water is weight on the structure. Ponding water and roof coatings goes further.
Details skipped
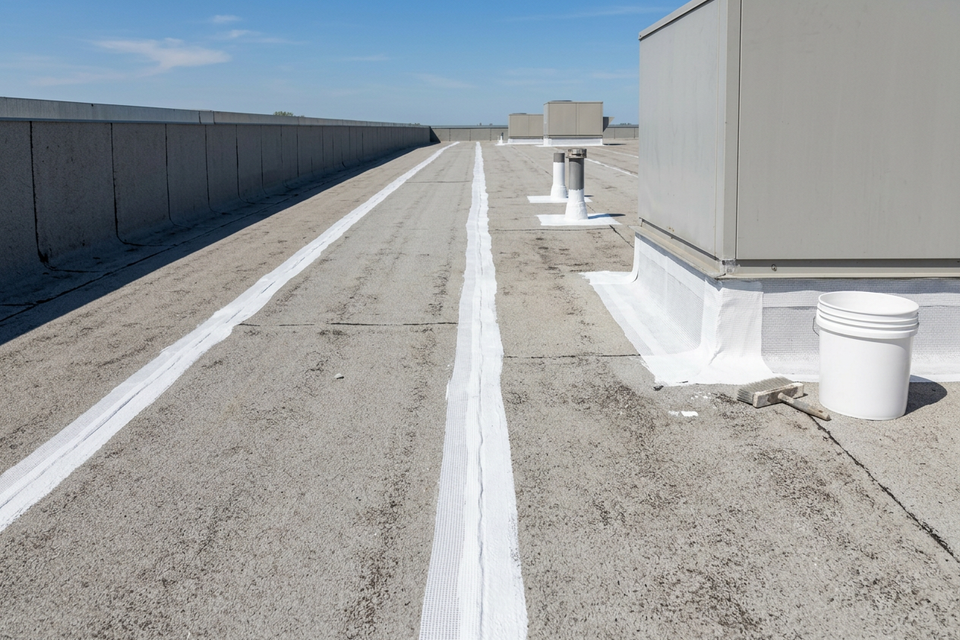
A restored roof is won or lost at its details: seams, fastener heads, flashings, curbs, drains and pipes are where water gets in, and each is reinforced before the field coats go on.
- Seams, flashings and penetrations get a three-course detail: polyester fabric, 6 in KST20385A or 12 in KST20385B, bedded in coating and coated over.
- Metal seams take butyl seam tape KST020804. Fasteners are tightened or replaced first, then the heads are detailed.
- Single-ply gutters, curbs and flashings take fleece-backed bonding tape KST058006; penetrations take MS hybrid sealant KST058300, over adhesion promoter KST058700 on TPO.
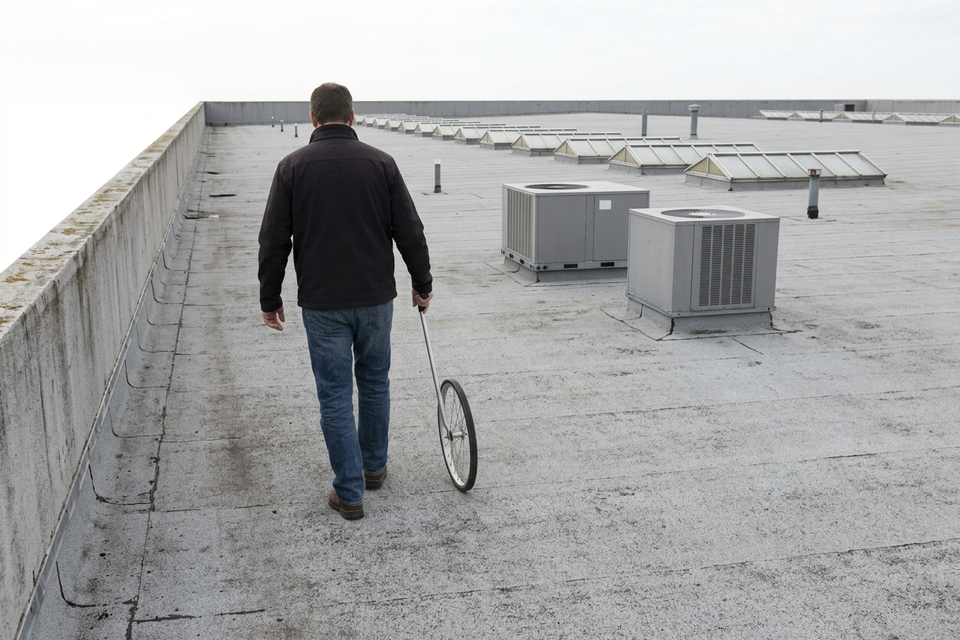
Details that are not counted are not priced. Measure the seams and count every curb, drain and pipe at survey. Seams, fasteners and flashings covers each one.
Weather on the day, neglect in the years after
Every coating has an application window. The silicone data sheet sets a temperature range, a humidity ceiling and a rain-safe time, and requires the surface completely dry, dew included. A water-based acrylic is sensitive to water until it has cured, so rain or heavy dew on a fresh coat is trouble. Read the window off the data sheet and stop when conditions leave it; when to coat a roof covers the scheduling.
A sound job can still be lost later. A 1999 conference paper on roof life cycles (C. P. Hodges, Effective Roof Management) cites research finding that under-maintained roofs lost more than one-fourth of their service life compared with highly maintained roofs; that was roofs in general, not coated roofs in particular. Keep drains clear, look over seams, flashings and penetrations on a schedule, and repair damage while it is small. Looking after a coated roof sets out a routine.
Who decides, and what to ask
- The data sheet names the preparation, the rate and the cure; the adhesion test patch settles whether it holds on this roof.
- The contractor owns means and methods: cleaning, film checks, details, the call on the weather (choosing a contractor says what to look for).
- The building’s engineer decides anything structural, including why water stands. Nothing here is structural advice.
- The manufacturer inspects the finished roof before it issues a system warranty. The warranty is the manufacturer’s, issued under its own terms; we supply the materials.
Before the job starts, ask:
- Was the whole roof surveyed for moisture, how, and which areas were cored?
- What did the adhesion test show, with which primer, and over what existing coating?
- What rate per square per coat is priced, and how is wet film checked?
- Where does water stand after rain, and what is planned there?
- How many feet of seams and how many penetrations were counted?
If a commercial low-slope roof has not been surveyed for moisture, start there: request a moisture scan. We arrange scans for commercial low-slope roofs anywhere in the US. If you already know the roof and the system, send the area, substrate and detail counts through the quote form for a material count, price, freight and a ship date.
Last updated 2026-10-05.